
Make your first map video in Studio
Use Japan → Tokyo to learn opening views, scenes, actions, and the timeline, then build a city introduction.
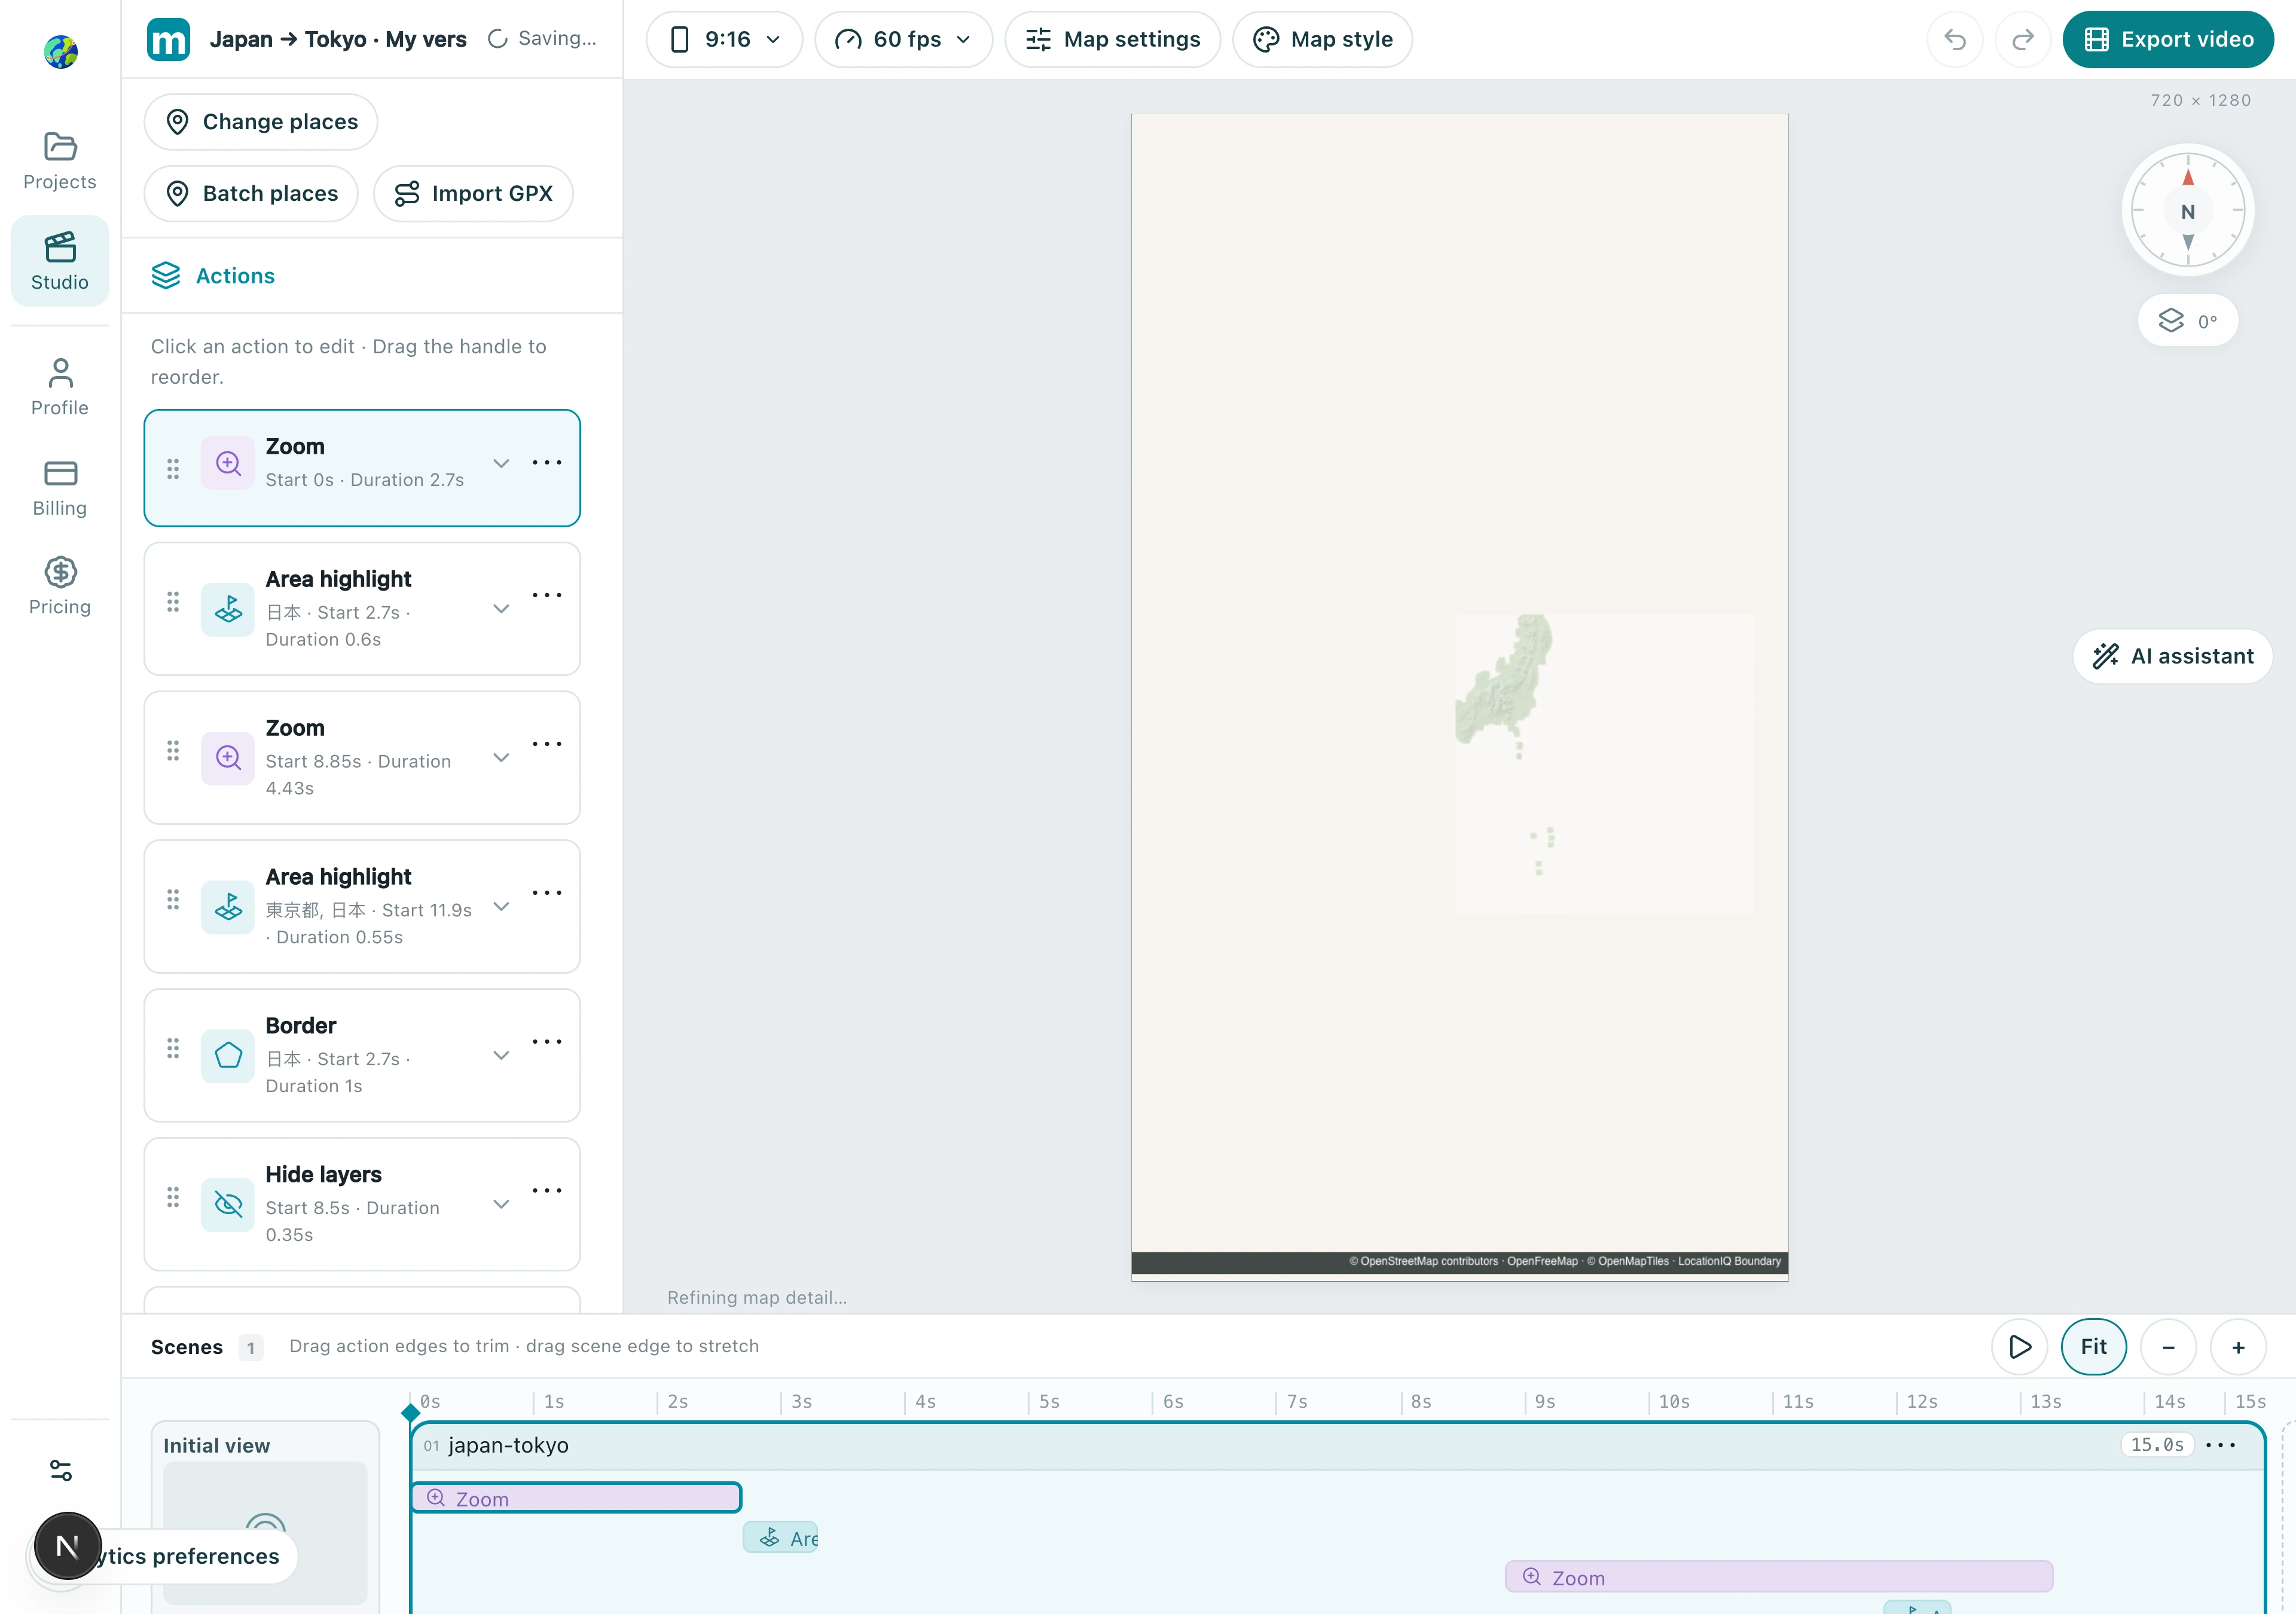
Watch the Japan → Tokyo example, then follow actual Studio screenshots. Start a blank project or choose Use this example on the homepage. The screenshots use a copy of that example, keep its existing actions, and append practice actions. Practice settings are not an exact reconstruction of the finished video.
Watch the result
1. Create a project and choose its format
Choose where the video will be published. The format changes the visible map area, so set it before composing camera moves.
1.1 Open the format menu in the toolbar and choose portrait 9:16, landscape 16:9, or square 1:1. This example uses portrait.
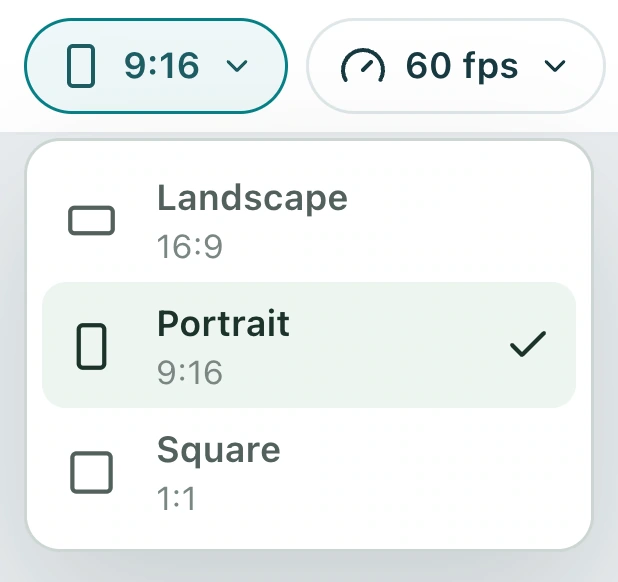
Check: The preview matches your intended publishing format.
2. Set the opening view
The initial view defines the opening composition and has no duration. Select, edit, and lock it in the following order before adding later camera moves.
2.1 Select Initial view at the far left of the timeline, then choose Custom in its properties.
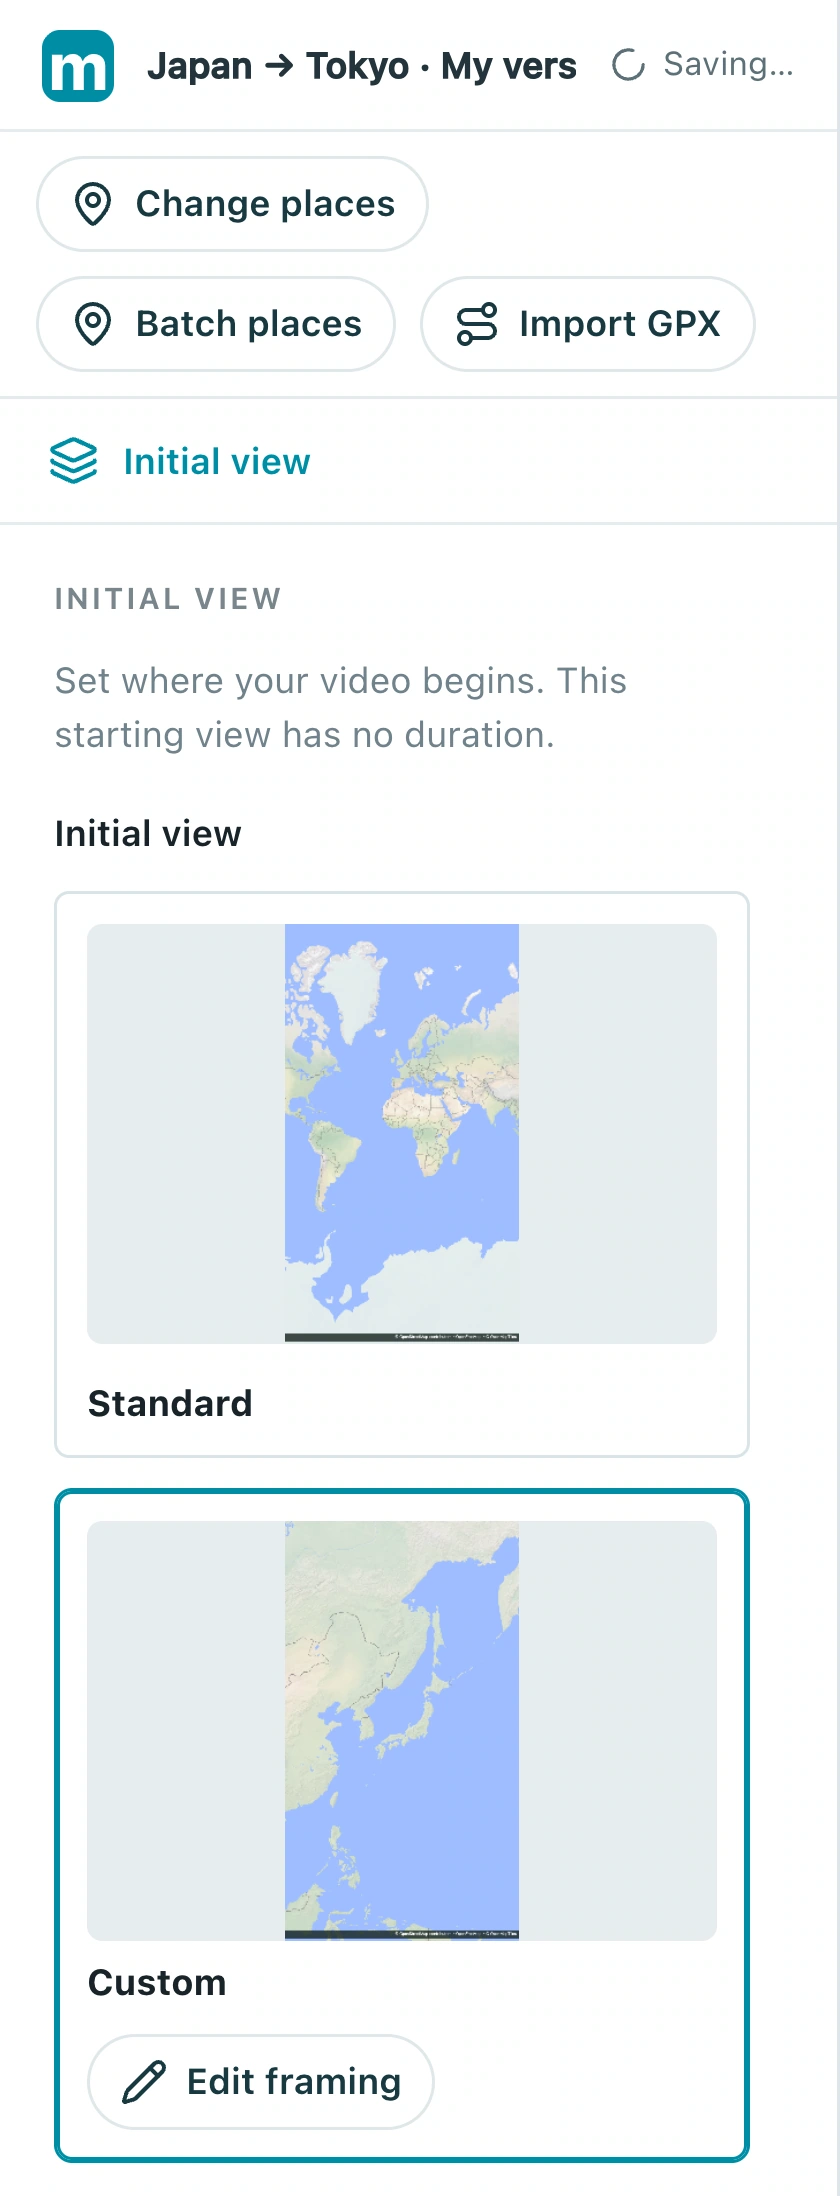
2.2 Choose Edit framing, then pan and zoom the map to include Japan. While editing, the button reads Lock framing.
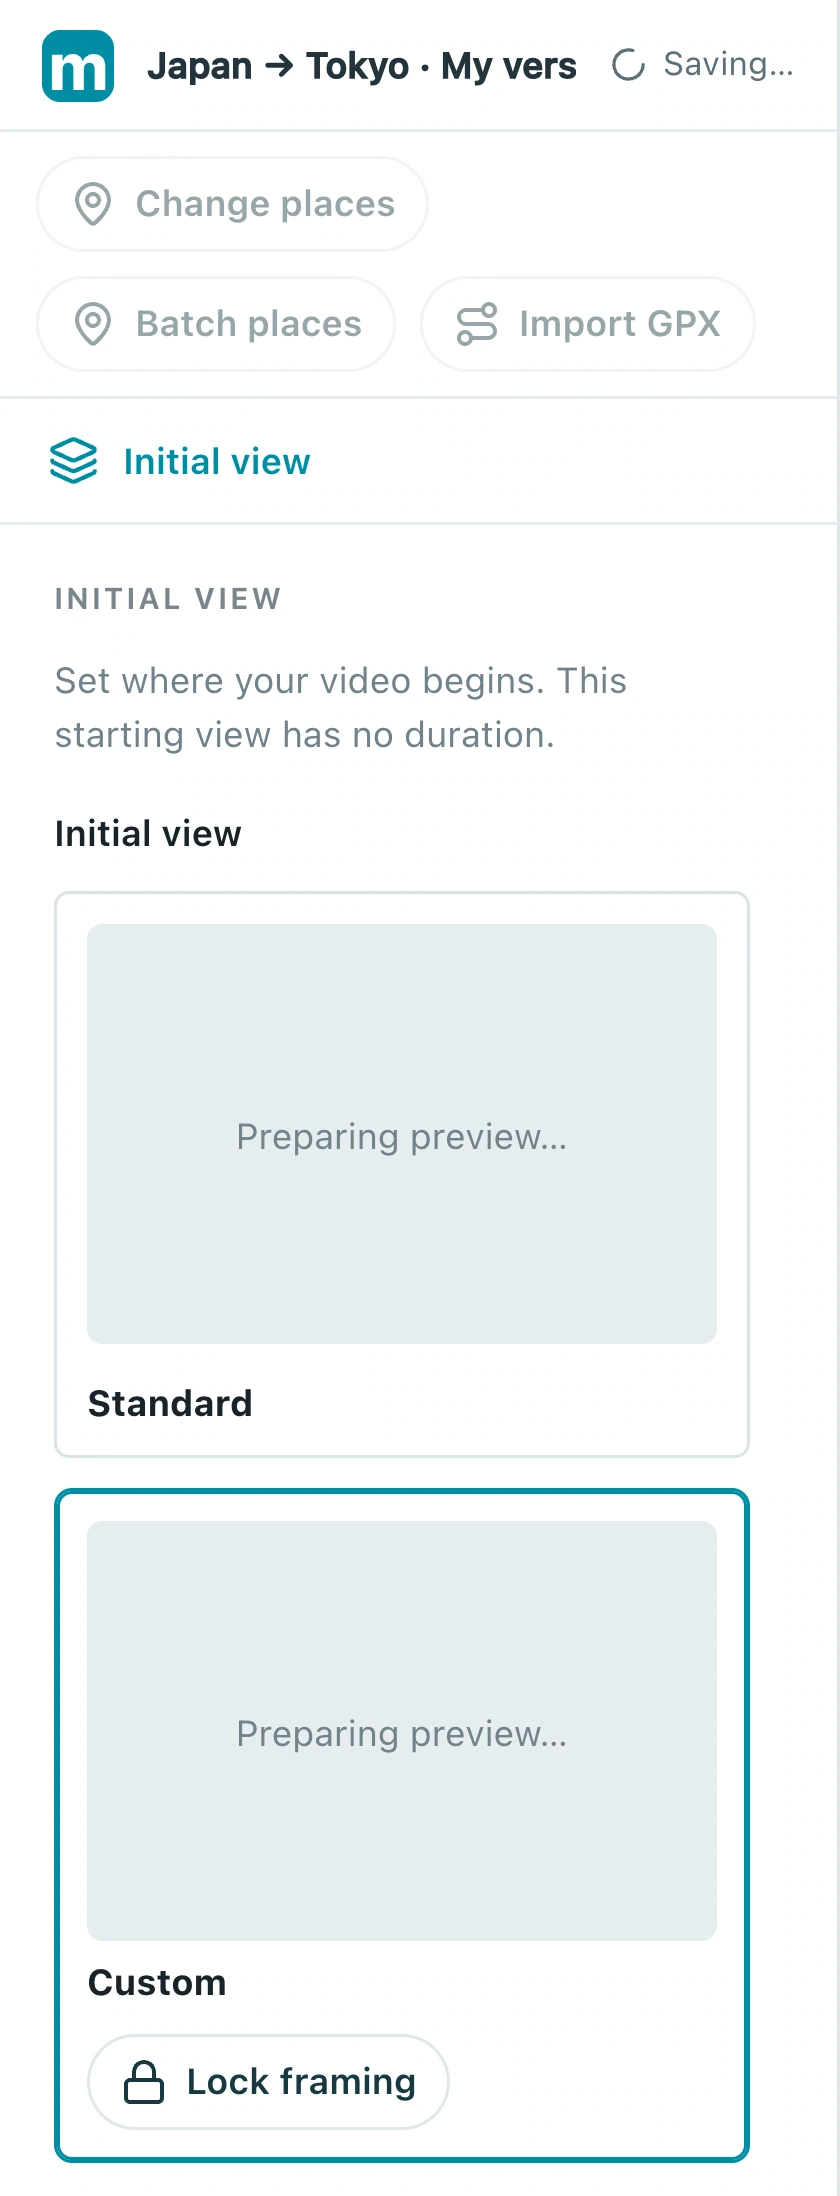
2.3 Choose Lock framing when satisfied. The button returns to Edit framing, indicating that the opening composition is saved.
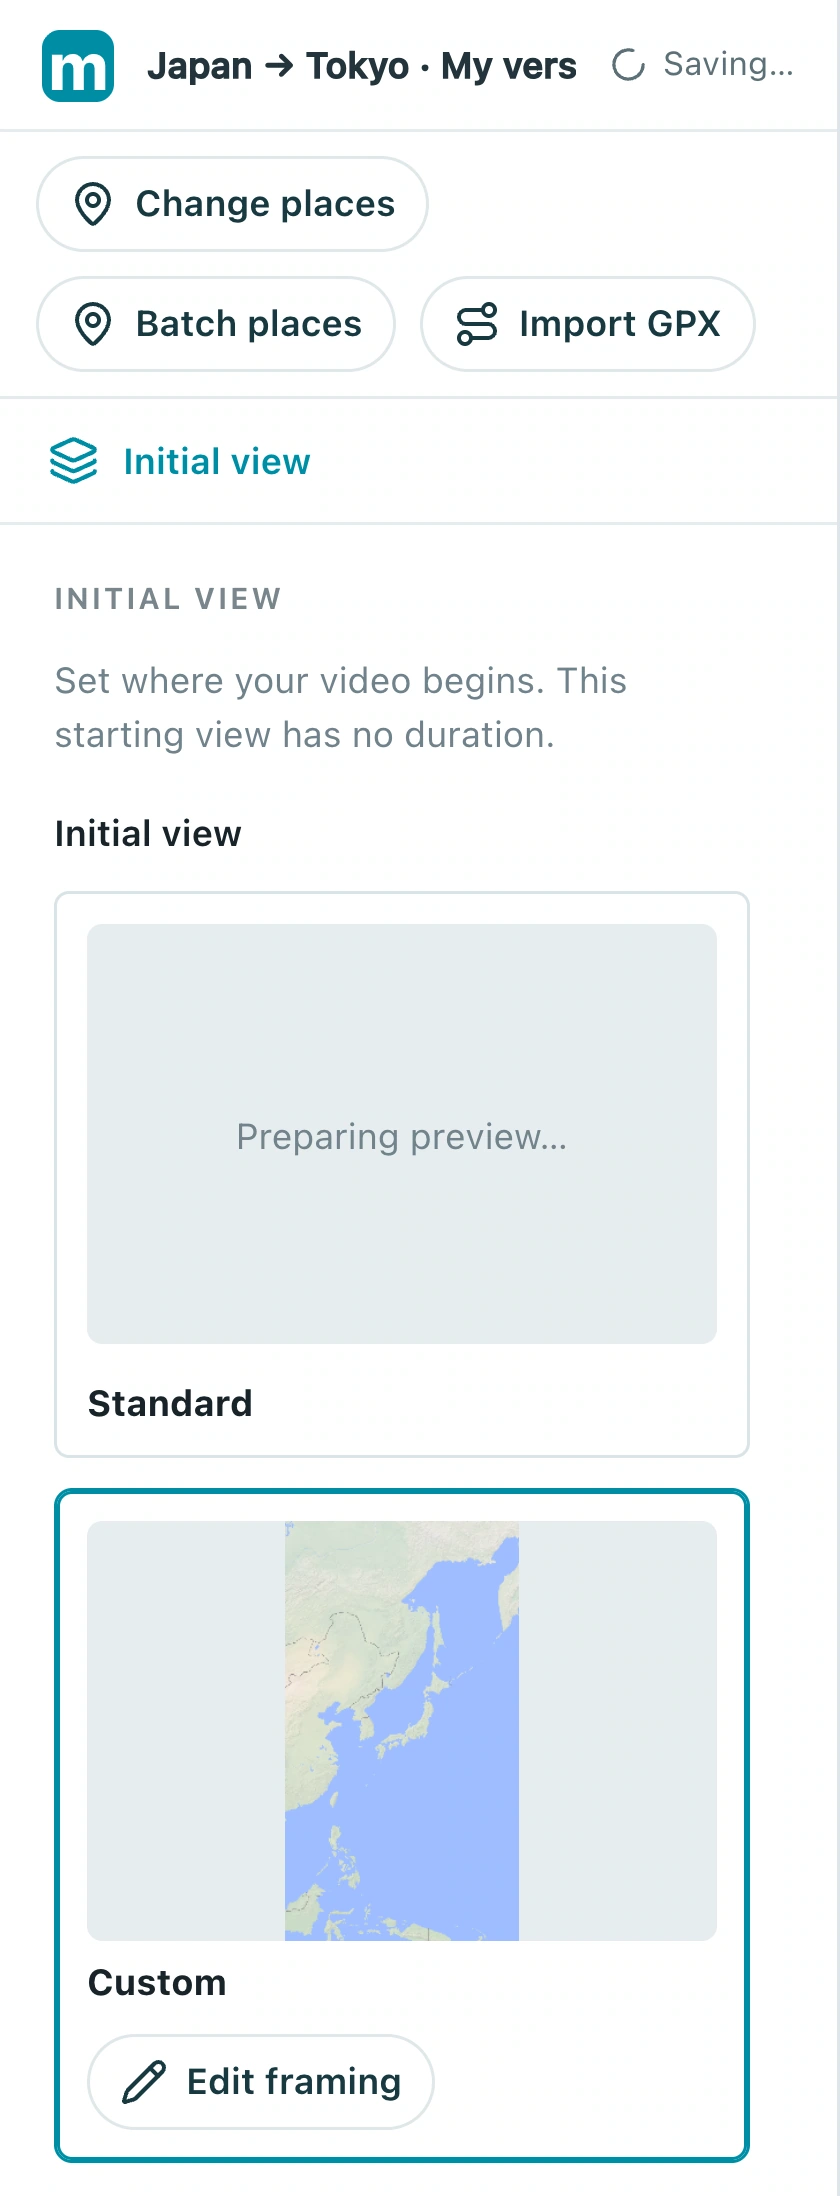
Check: Returning to the beginning shows your saved opening composition.
3. Add a city focus action
An Action is a camera move or visual effect. Add its type, select a real target, then set framing and timing. The picker demonstration is not your video destination.
3.1 Choose Add action below the scene action list, select Focus, and choose Add Focus.
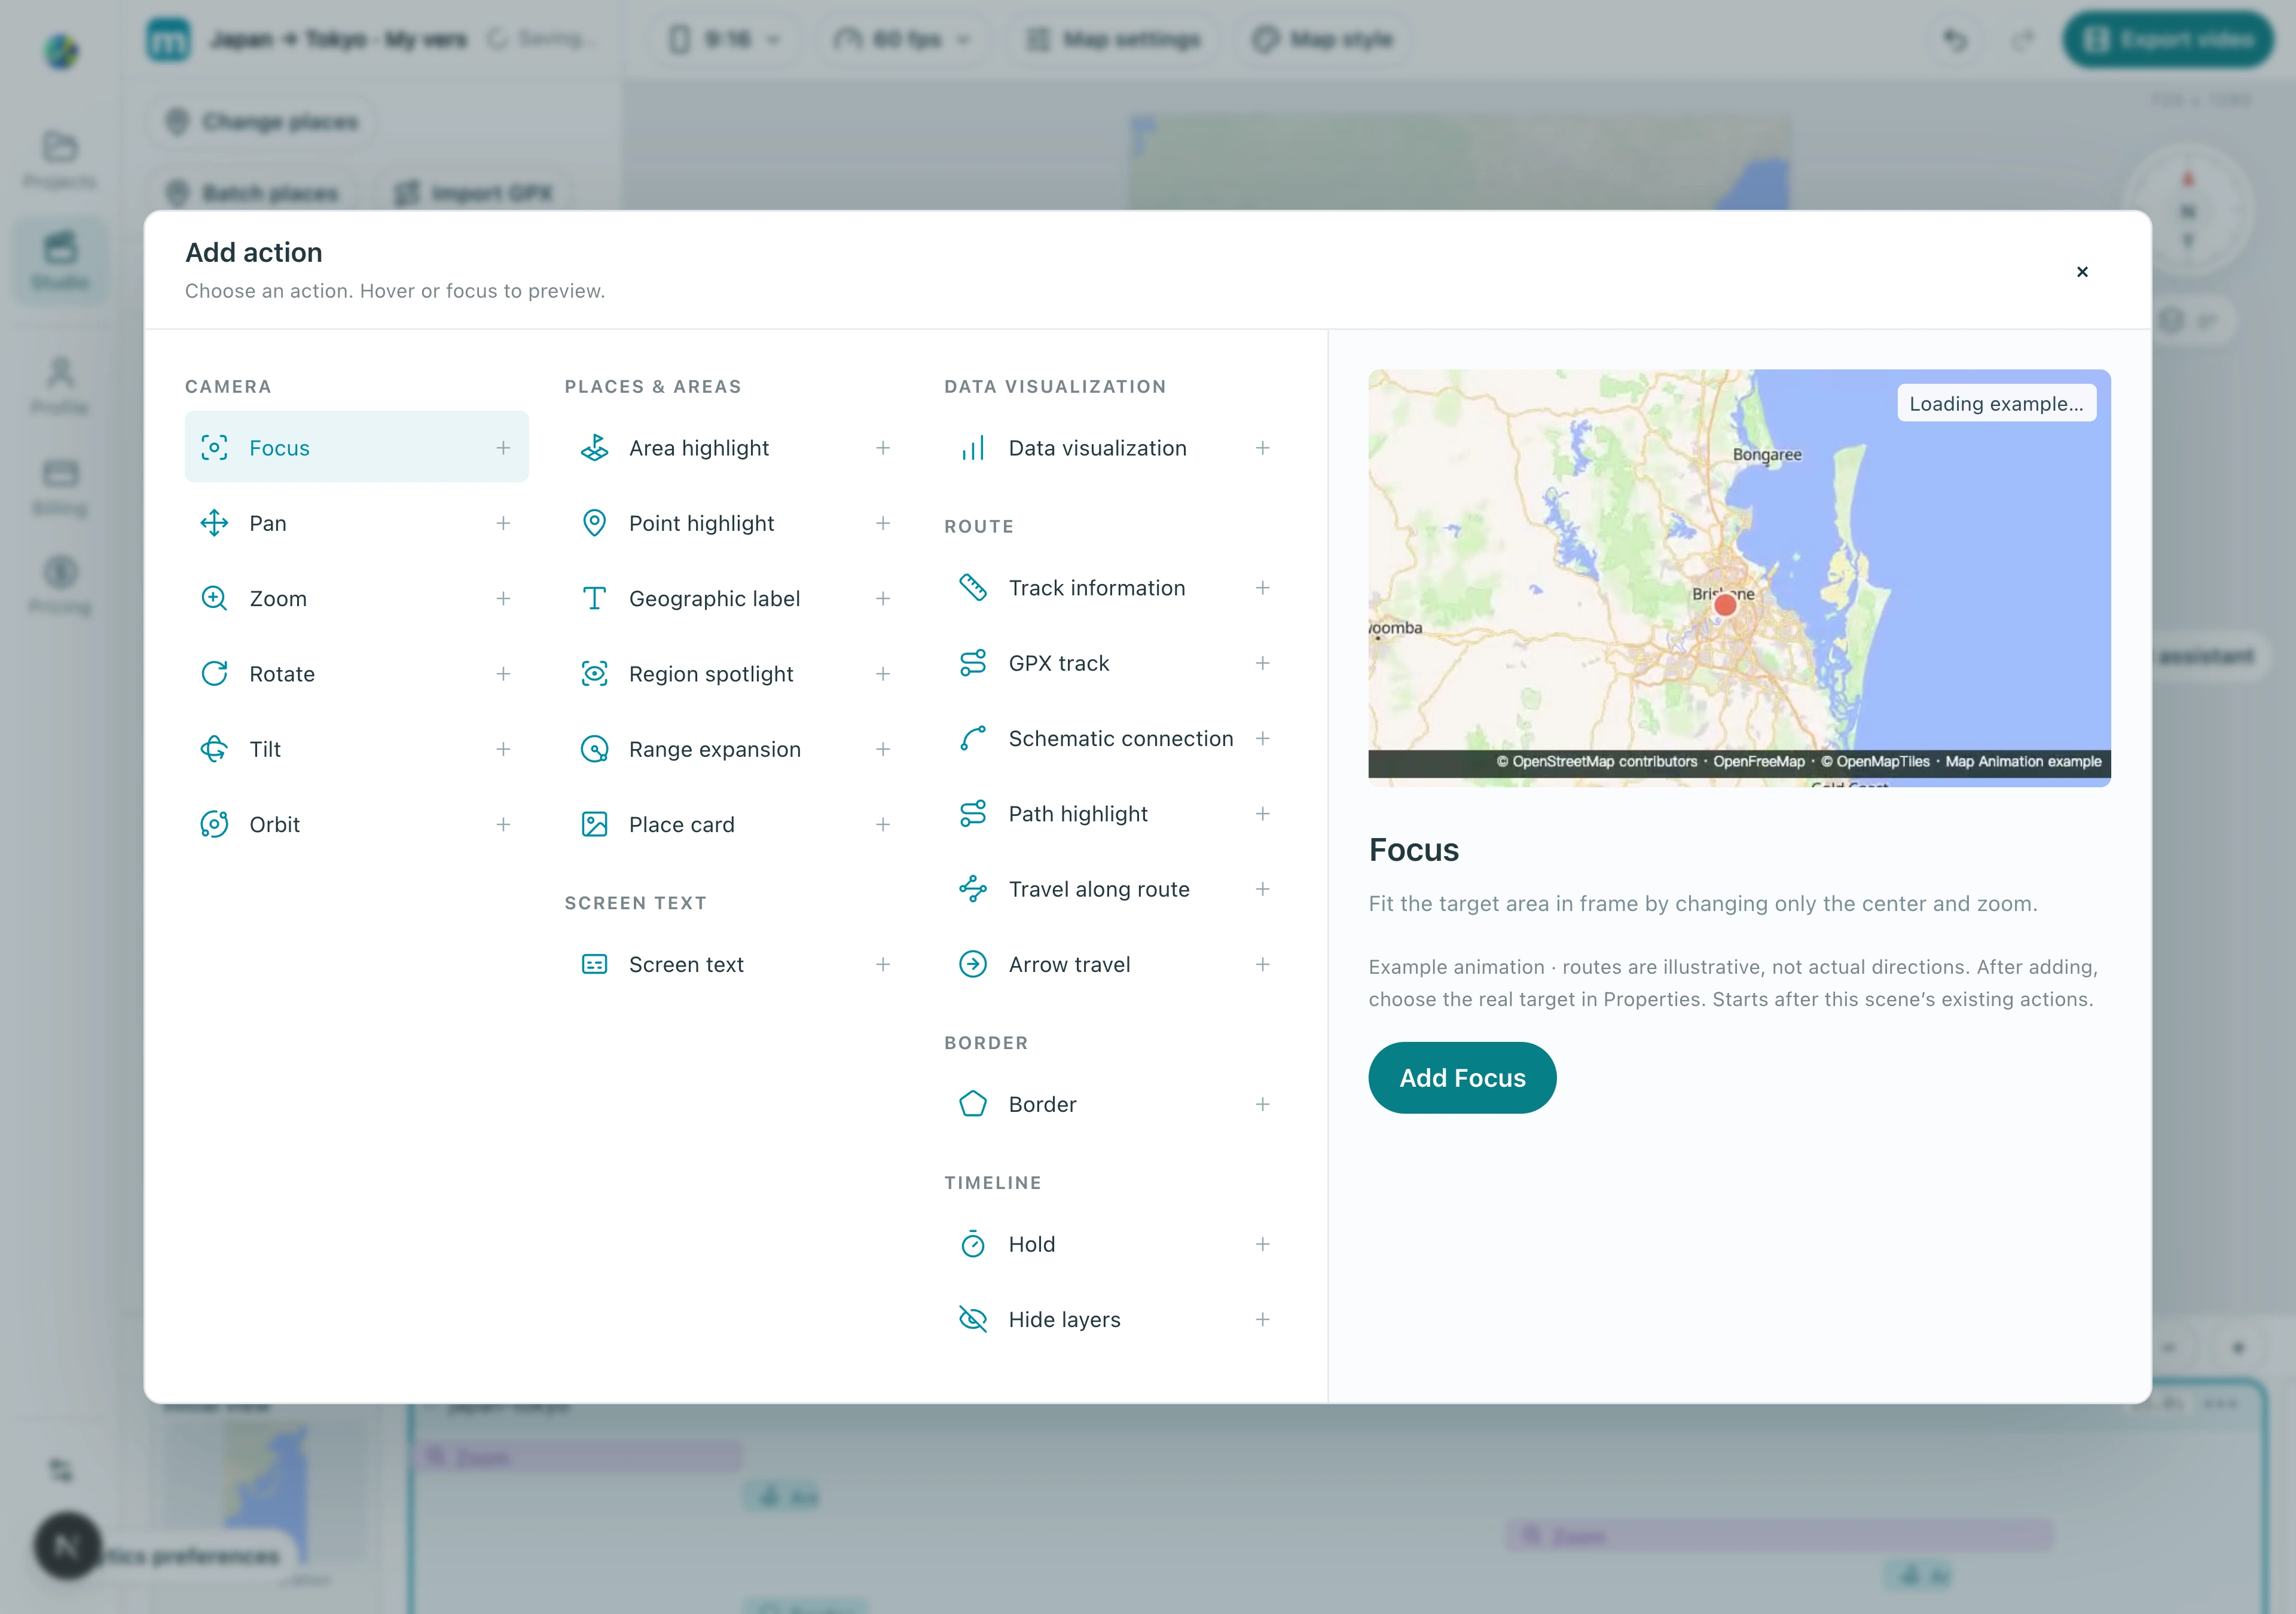
3.2 Expand the action, choose Place / address, and search Tokyo or its local name. Verify Japan and choose the result.
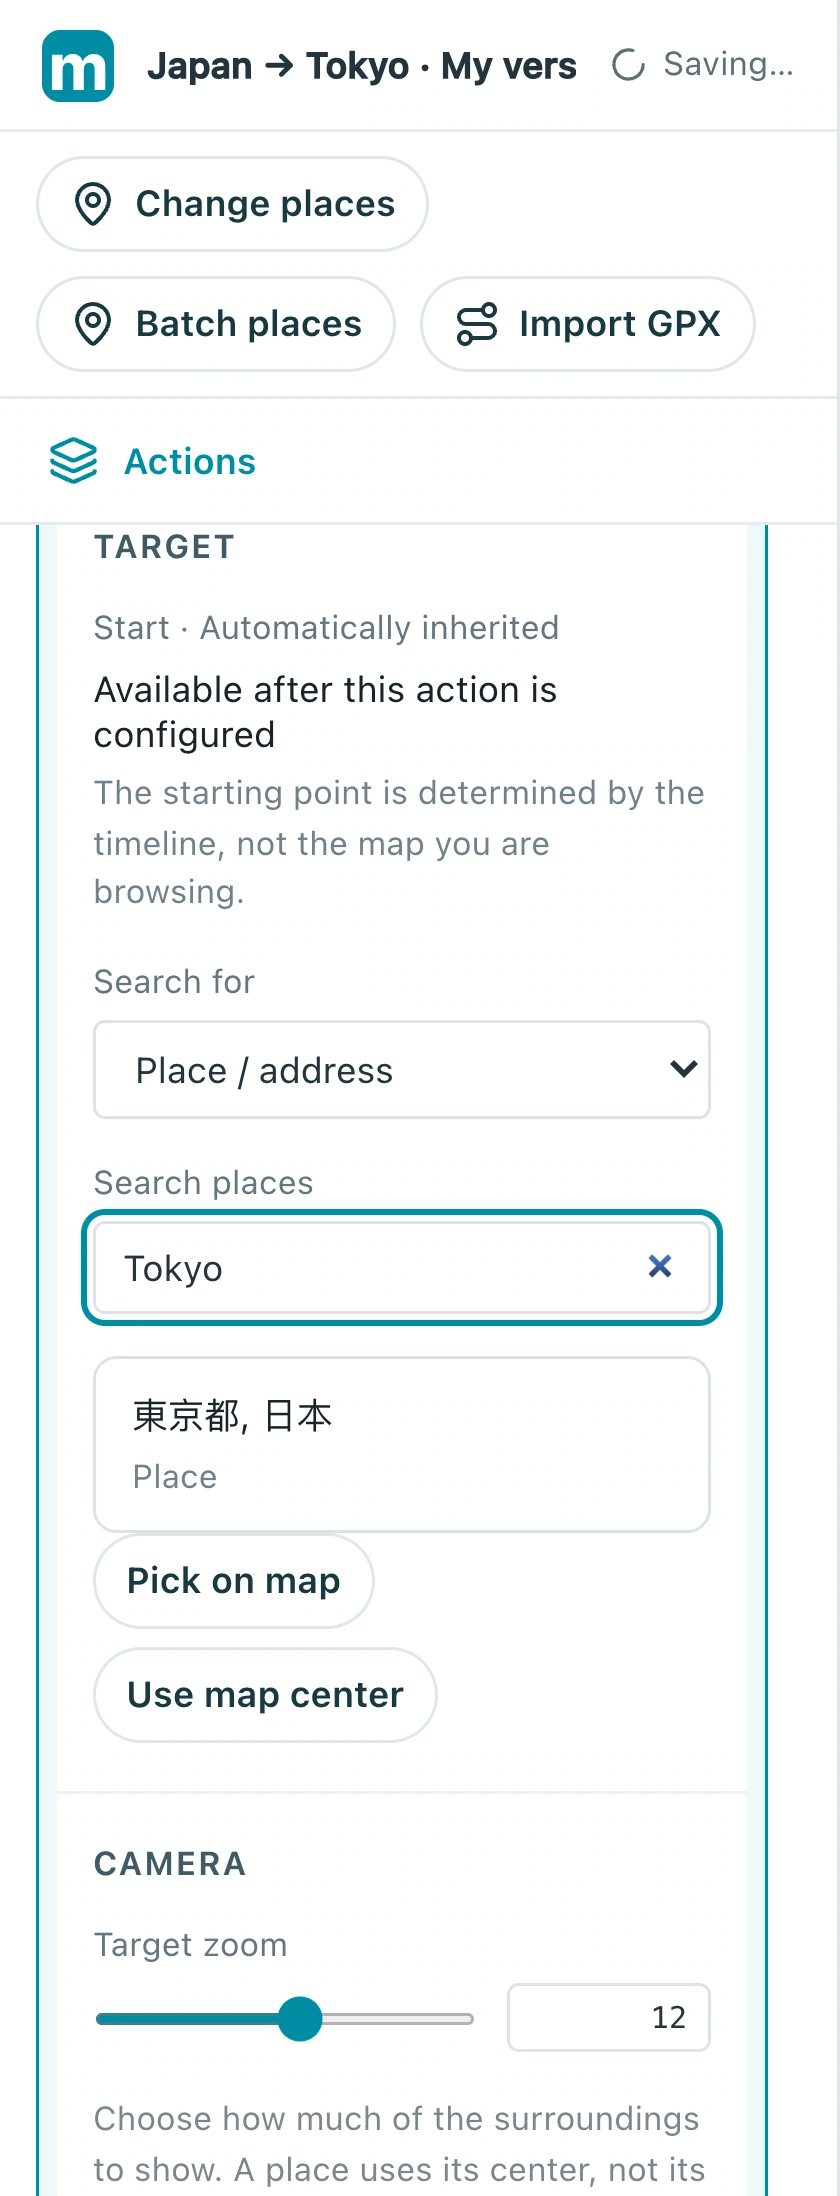
3.3 After choosing the target, adjust Final zoom. Try 10, then use the preview to judge the city framing.
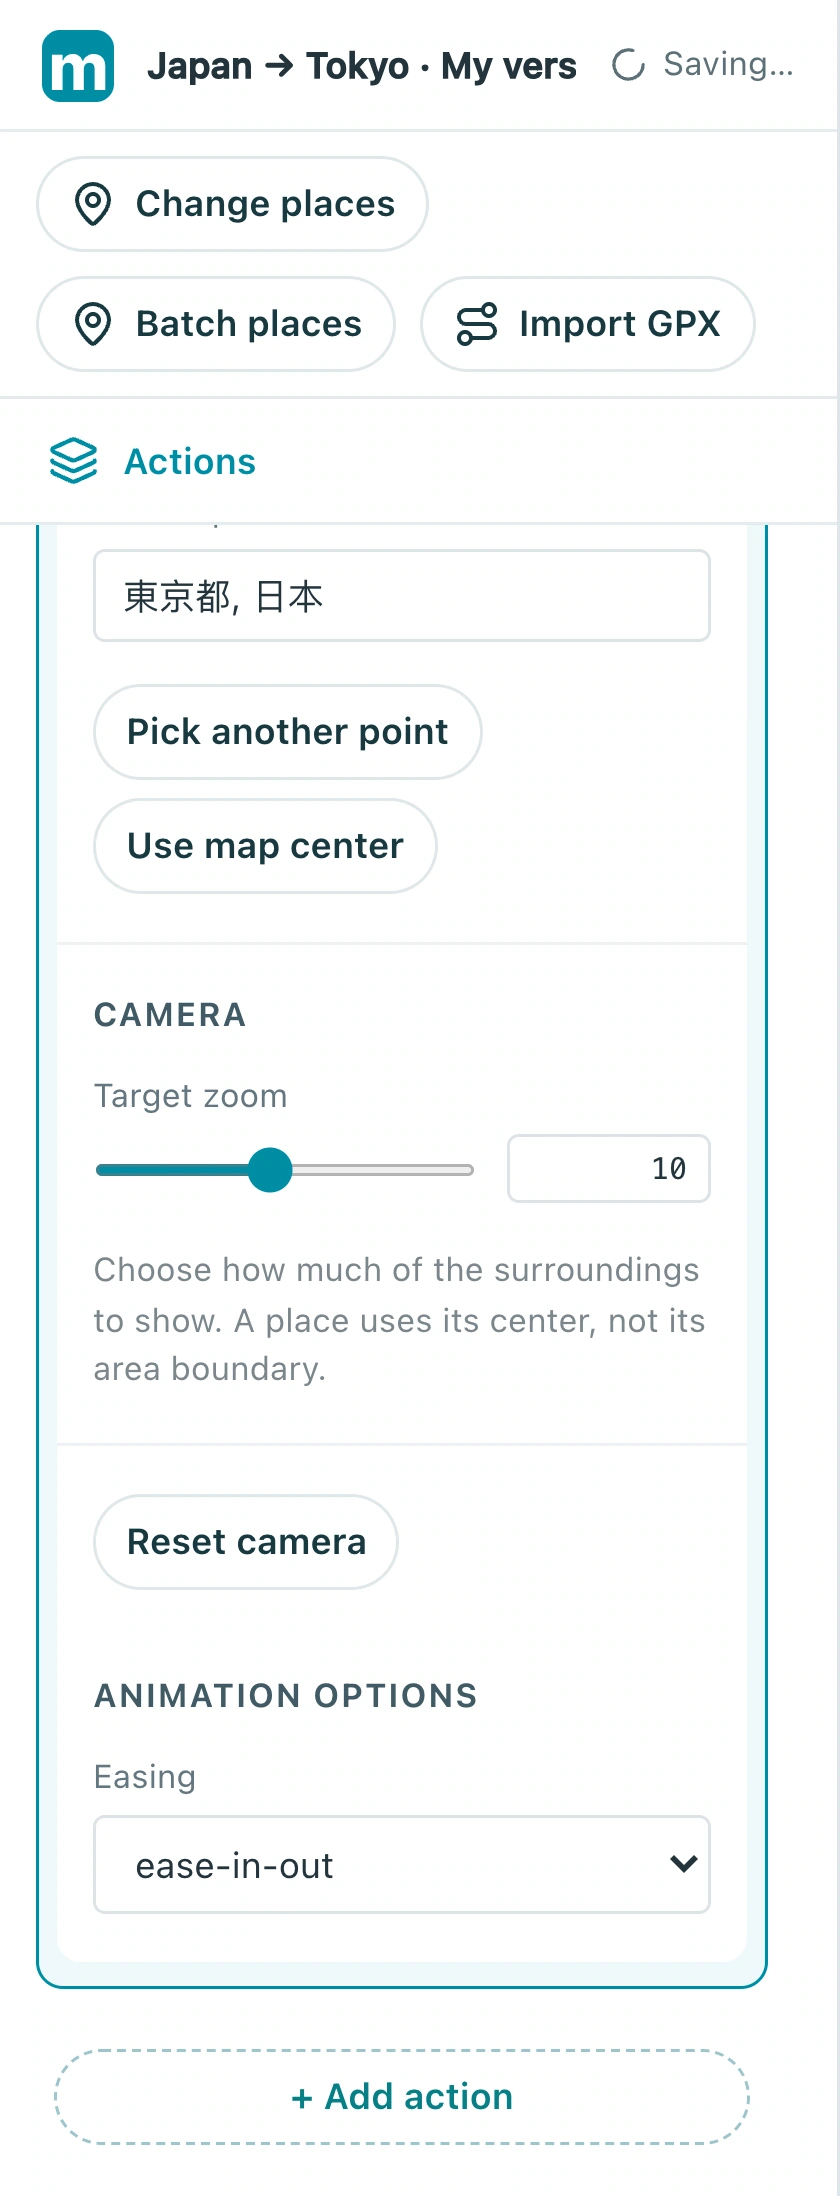
3.4 Set the start time and duration. This screenshot appends a four-second action at 15 seconds; a blank project can start at zero. Avoid overlapping camera moves.
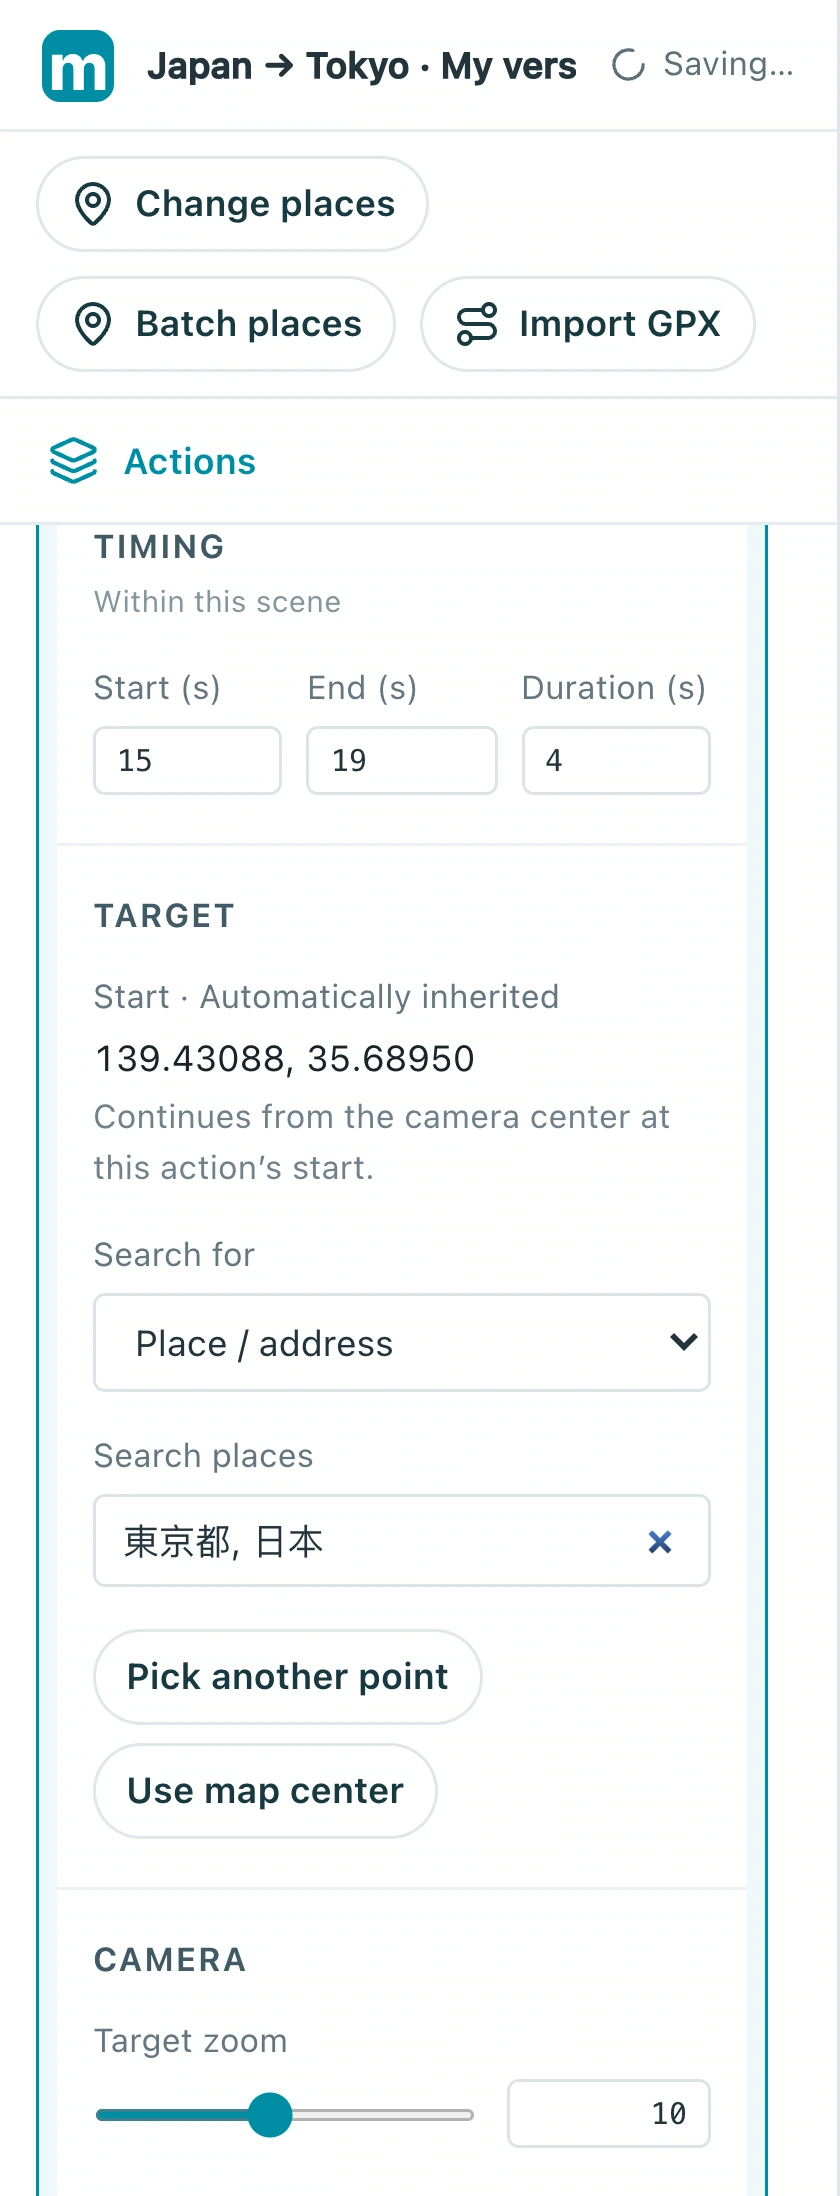
Check: The move ends on Tokyo with room around the city.
4. Label the destination and let it breathe
After arrival, let viewers read the city name and inspect the view. A label identifies the place; a hold extends the ending.
4.1 Add or select Geographic label for Tokyo, enter its text, and adjust the font size. Reveal it as the camera approaches.
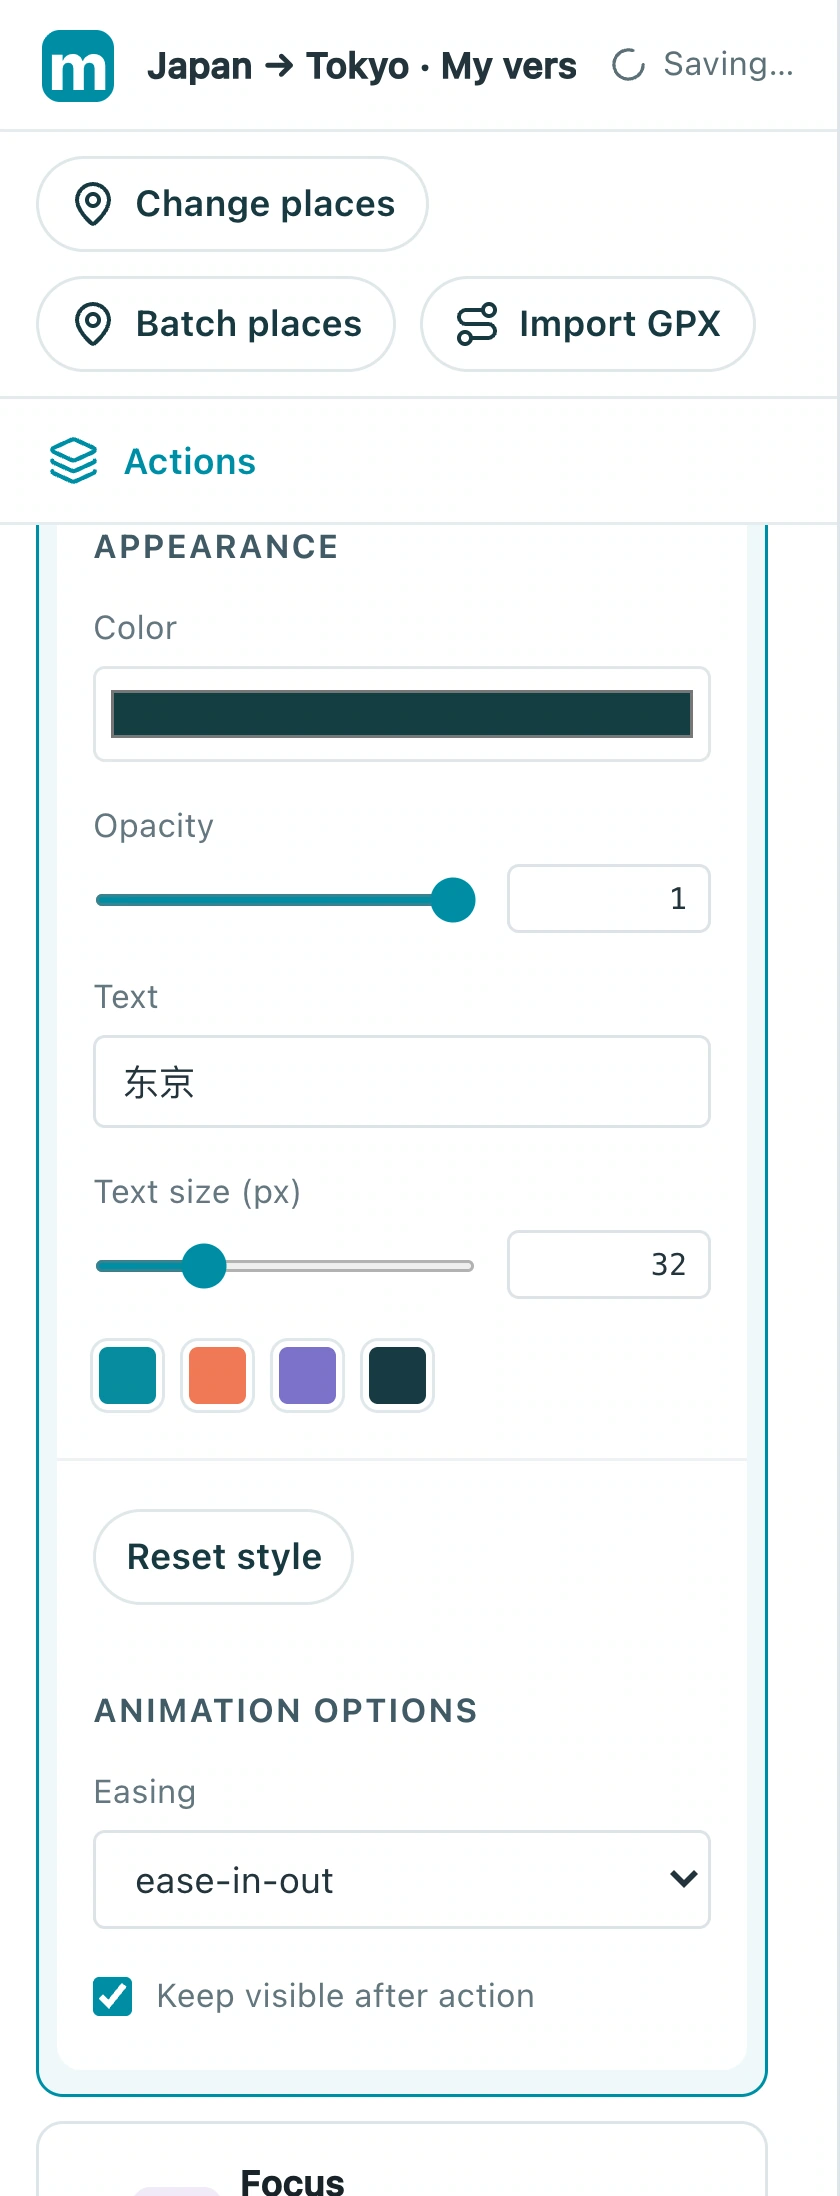
4.2 Open Add action again and choose Hold in the timeline group. Place it after the camera move and try one second.
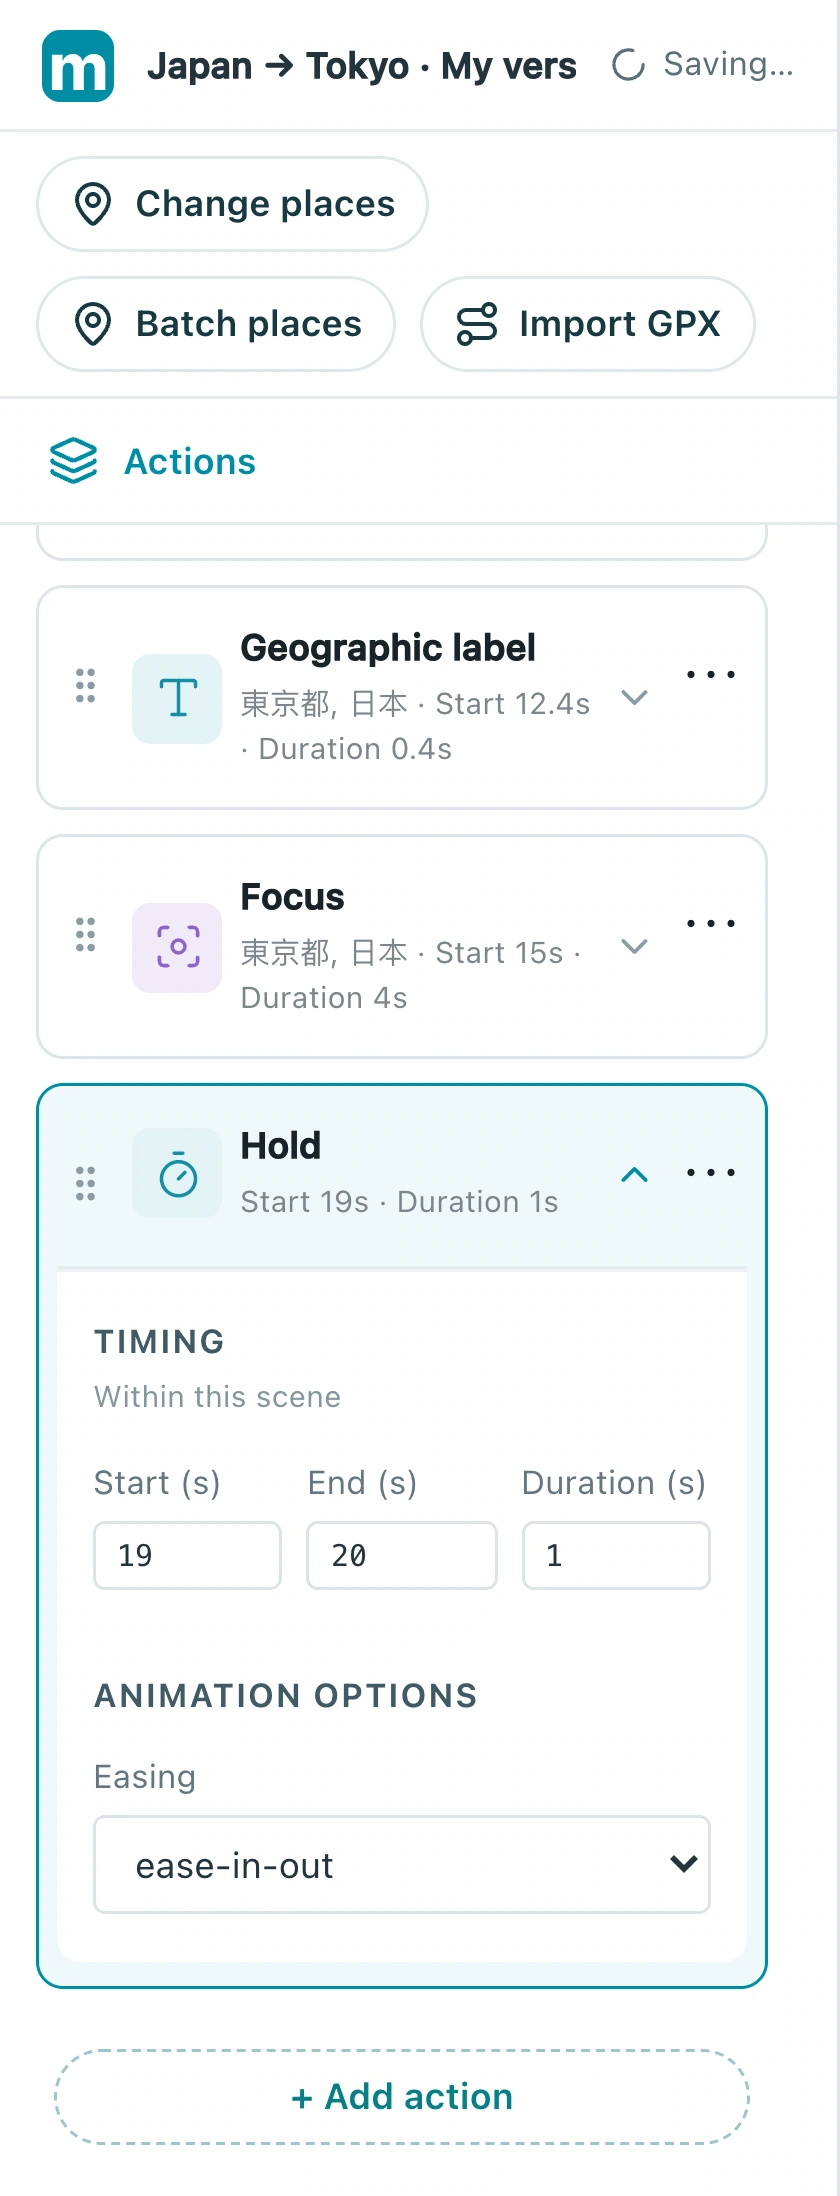
Check: The city name is readable and the ending does not cut off immediately.
Make your own version
Replace the example with a city you know, finish a short sequence, and review it end to end. Make one clear story before adding more effects.
Practice in Studio